

Table of Contents

If you own an iPhone, chances are you’ve experienced the satisfaction of having a crystal-clear screen protector guarding your precious device. It shields your phone from scratches, smudges, and accidental drops, ensuring your iPhone remains in pristine condition. However, there comes a time when you need to bid farewell to your trusty screen protector – whether it’s due to wear and tear, air bubbles, or the desire to switch to a new one. Don’t worry, we’ve got you covered. In this guide, we’ll unravel the mystery of how to remove your iPhone screen protector effortlessly, providing you with expert tips and step-by-step instructions.
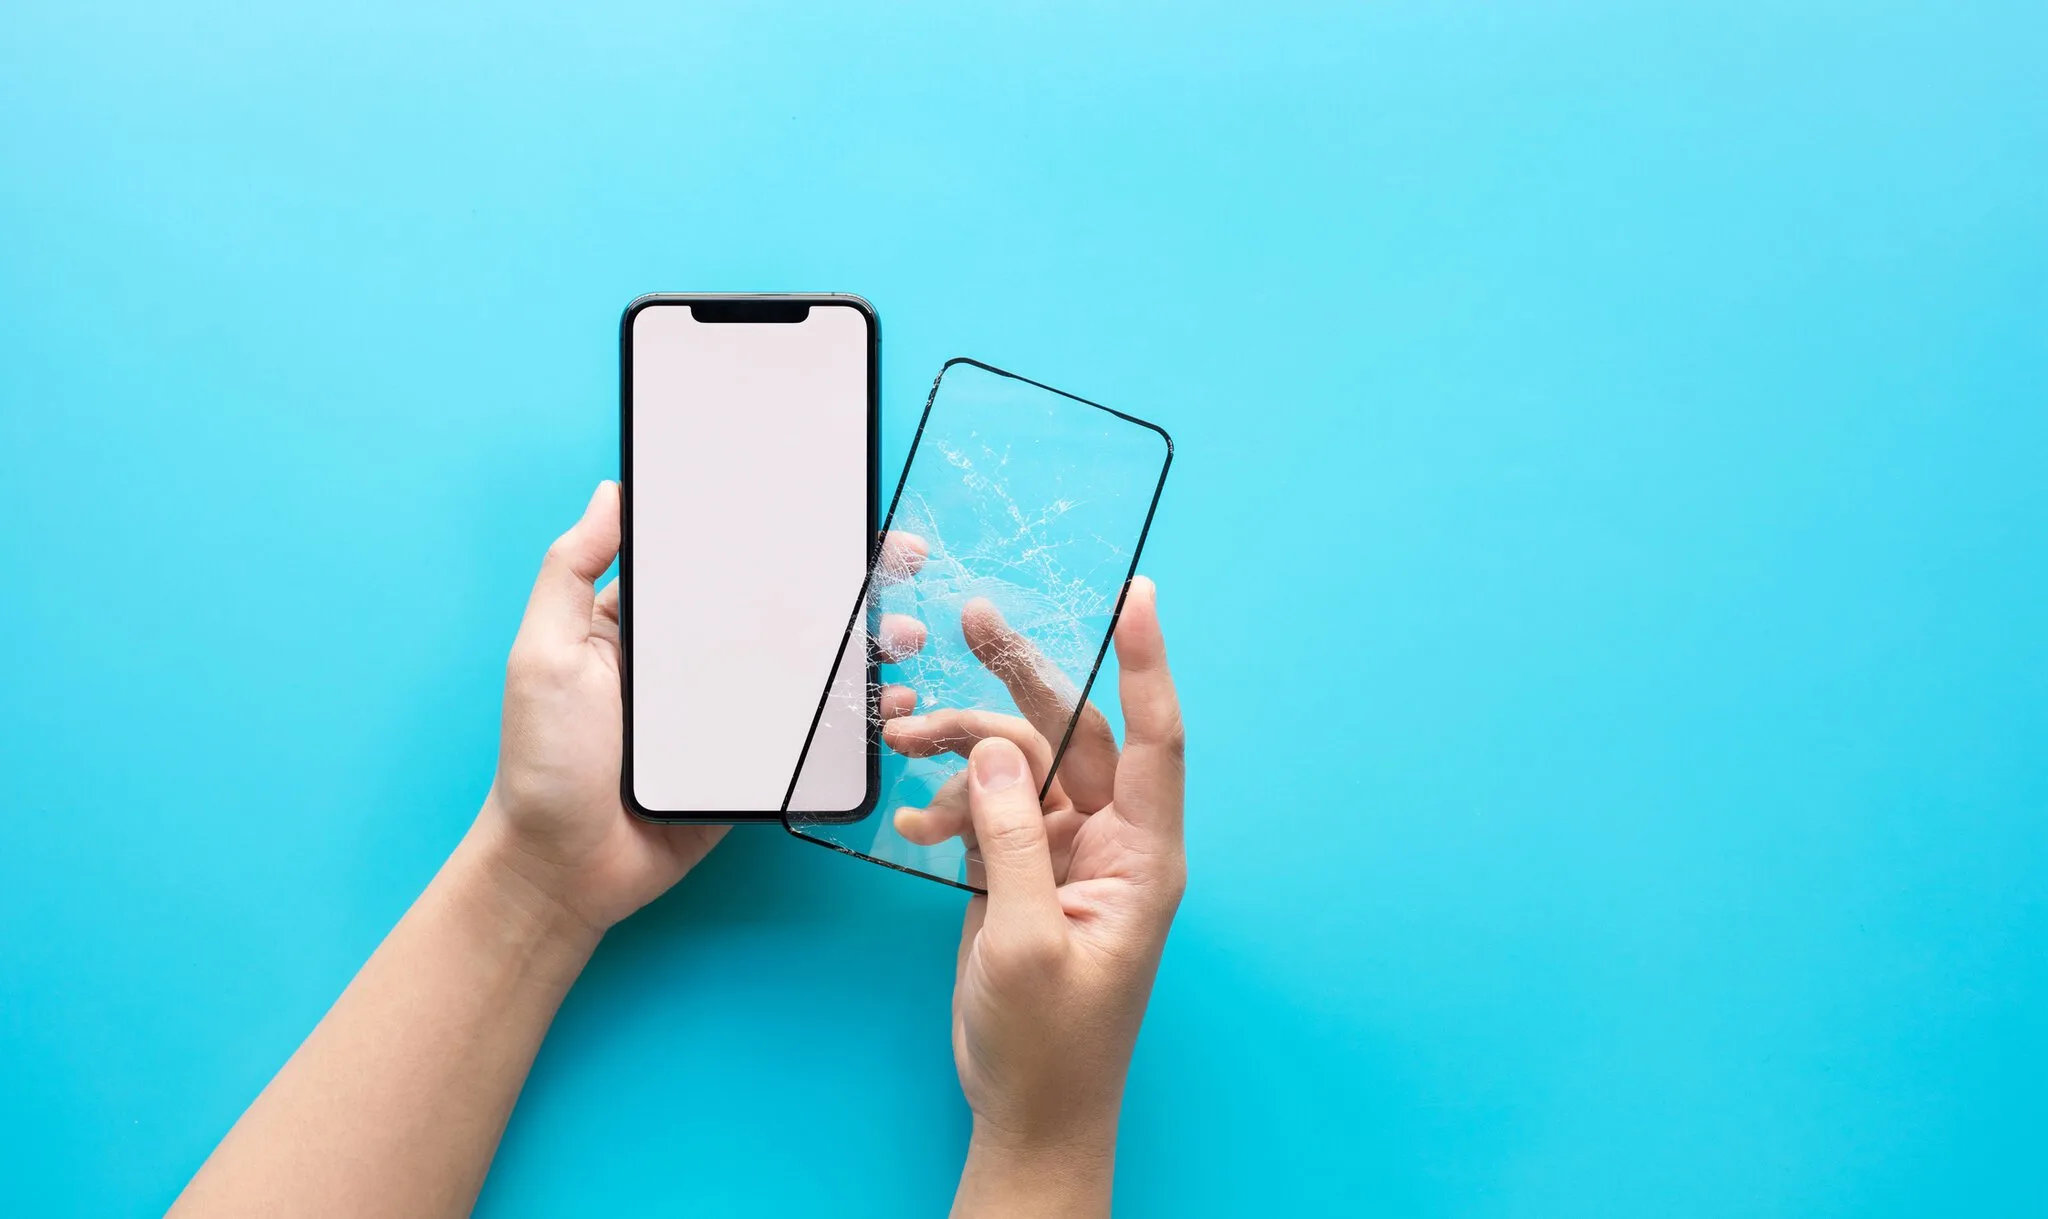
Why And How to Remove Your iPhone Screen Protector?
Before we delve into the how to remove your iphone screen protector process, let’s discuss why you might want to part ways with your iPhone screen protector. While these protective films offer remarkable benefits, there are instances when removal becomes necessary:
1. Wear and Tear:

For how to remove your iphone screen protector Over time, your screen protector may start to show signs of wear, such as scratches or peeling edges, compromising its effectiveness.
2. Air Bubbles:

Improper installation or everyday use can lead to annoying air bubbles trapped beneath the protector, affecting the clarity of your screen.
iPhone 14 Pro Max Anti Spy Screen Protector IPhone 13 11 12 6 7 8 Plus XS Max X XR SE 2023
iPhone 11 12 13 14 15 Pro Max Mini Screen Protector On iPhoneX XR Xs Max 6S 7 8 Plus
3. Upgrading or Changing Protectors:
As technology evolves, you might decide to upgrade to a newer iPhone model or switch to a different type of screen protector.
Gathering Your Tools
Before you embark on the journey of how to remove your iphone screen protector, gather the following tools:
– Microfiber Cloth: For cleaning the screen and removing any residue.
– Scotch Tape: To lift the screen protector from the corner.
– Hairdryer (optional): To soften adhesive for easier removal.
Step-by-Step Removal Guide
For how to remove your iphone screen protector we have so many different choices, ways and some tools. But in this topic we will discuss about some more convenience ways plus some helpful tools which they will use and they will make very easy and simple without broken the screen protector.
Step 1: Prepare Your Workstation
Find a well-lit, clean workspace where you can comfortably handle your iPhone. Ensure you have good visibility and enough room to work without any distractions.
Step 2: Remove Your iPhone Case

Taking off your iPhone case will give you better access to the edges of the screen protector, making the removal process smoother.
Step 3: Lift the Corner with Scotch Tape

1. Cut a small piece of scotch tape and fold it, leaving a tab for easy gripping.
2. Gently place the tape on one corner of the screen protector, make sure it adheres to the protector’s edge.
3. Slowly lift the tape, peeling the corner of the screen protector away from the iPhone.
Step 4: Peel Off the Screen Protector

Once you’ve lifted the corner, continue peeling the screen protector off using gentle, steady pressure. Keep the angle shallow to prevent damaging the screen or leaving adhesive residue.
Step 5: Remove Any Residue
If you encounter any adhesive residue on your iPhone’s screen, use a piece of scotch tape to dab and lift it off. Be cautious not to scratch the screen while doing so.
Step 6: Cleaning the Screen

With the screen protector removed, it’s time to give your iPhone’s screen a thorough cleaning. Dampen a corner of the microfiber cloth with water and gently wipe the screen to remove any remaining residue or fingerprints.
Step 7: Optional – Using a Hairdryer

If your screen protector seems stubborn or leaves behind adhesive residue, you can use a hairdryer on its lowest setting to warm the surface. This will help soften the adhesive, making it easier to remove.
Step 8: Apply a New Screen Protector (Optional)
If you plan to replace your old screen protector with a new one, follow the manufacturer’s instructions for installation. Make sure to align it properly and smooth out any air bubbles during the application.
The Art of Effortless Removal
When it comes to our beloved iPhones, we go to great lengths to keep them safe and stylish. Enter the unsung hero of device protection – the screen protector. These thin, transparent shields work tirelessly to fend off scratches, smudges, and even cracks from accidental falls. Yet, there comes a time in every iPhone owner’s journey when the faithful screen protector must make way for a fresh start. The process of how to remove your iPhone screen protector need not be a daunting task. In fact, it can be turned into an art form – a dance of precision and finesse. Let’s explore the graceful technique of effortless screen protector removal.
A Mindful Prelude
Before diving into the practical steps of how to remove your iphone screen protector, it’s crucial to set the stage for this delicate act. Removing your iPhone screen protector is more than a task; it’s an opportunity to engage in a mindful experience. Find a quiet, well-lit space where you can focus your attention on the process. Clear your mind and approach the task with a calm demeanor. This mindful approach not only ensures the safety of your iPhone but also adds a touch of intention to the act of removal.
Gathering the Tools
Every artist needs the right tools, and the art of effortless screen protector removal is no different. Here’s what you’ll need:
Microfiber Cloth: A soft and gentle cloth to clean your screen and remove residue.
Scotch Tape: An unexpected yet effective tool for lifting the screen protector.
Hairdryer (optional): To warm the adhesive for easier removal.
The Choreography of Removal
Creating Space: Begin by finding a clean, clutter-free surface to work on. This not only provides you with ample space but also prevents any distractions during this artful process.
Nurturing Access: Just like a dancer gracefully extends an arm, you’ll start by removing your iPhone case. This gives you better access to the edges of your screen protector.
The Gentle Lift: Think of this step as a slow and deliberate lift onto your tiptoes. Cut a small piece of scotch tape, fold it, and apply it to a corner of your screen protector. With a gentle pull, you’ll begin to lift the protector away from the screen. The scotch tape serves as a partner in this dance, ensuring a smooth and damage-free separation.
The Fluid Peel: As the screen protector starts to detach, maintain a fluid and steady motion. Keep the angle shallow to avoid any sudden jerks or tugs that could harm your iPhone’s screen.
Residue Requiem: Sometimes, a residue might linger, akin to an echo. Use the scotch tape to tenderly lift off any adhesive remnants. Treat this step with the same patience you would apply to a delicate brushstroke on canvas.
Cleansing Ritual: With the protector removed, cleanse your iPhone’s screen with the microfiber cloth. Embrace the act like wiping away a smudge from a masterpiece, leaving behind a pristine canvas.
Optional Flourish: For those protectors that have left a lasting impression, the hairdryer can make its entrance. On its gentlest setting, warm the screen’s surface to soften any lingering adhesive. This optional step adds a touch of sophistication to your removal routine.
The Grand Finale
As you admire your newly unveiled screen, take a moment to appreciate the artistry of your endeavor. The act of how to remove your iPhone screen protector has transformed from a mundane task into an elegant ritual. You’ve preserved your iPhone’s beauty while acquiring a newfound skill – the art of graceful removal.
In a world of fast-paced technology, this mindful approach is a reminder that even the simplest tasks can be elevated into moments of artistry. So, the next time you embark on the journey of how to remove your iphone screen protector removal, do so with intention, finesse, and the knowledge that you’re engaging in the art of effortless removal. Your iPhone will thank you, and you’ll walk away with a sense of accomplishment and a screen that’s ready to shine anew.
A Mindful Approach to Achieving a Seamless Removal Experience
How to remove your iPhone screen protector doesn’t have to be a daunting task. With the right tools and a careful approach, you can easily bid adieu to your old protector and welcome a fresh start. Whether you’re switching to a new protector or embracing the naked screen, mastering the art of effortless removal ensures that your iPhone remains a sleek and stylish companion throughout its journey.
Conclusion
Your iPhone screen protector has dutifully served its purpose, but when the time comes for it to be peeled away, you now have the knowledge regarding how to remove your iphone screen protector and steps to do so effortlessly. Remember, patience is key throughout the removal process. By following our expert guide, you can bid farewell to air bubbles, scratches, and worn-out protectors while maintaining the allure of your iPhone’s display. So go ahead, embark on this mini-adventure of screen protector removal and give your iPhone the fresh start it deserves.
Remember, mastering the art of how to remove your iPhone screen protector is not only about preserving your device’s appearance but also about the sense of accomplishment that comes with mastering yet another DIY skill in the realm of technology. I hope now you understand why and how to remove your iphone screen protector.
Besides of this topic like “how to remove your iphone screen protector” In the modern era, cell phones have become an extension of ourselves, containing our memories, communications, and connections to the world. As these devices seamlessly blend into our daily lives, it becomes essential to protect them from the wear and tear of everyday use. Among the arsenal of protective accessories available, the humble screen protector stands out as a small yet crucial shield that every cell phone deserves. Here we will discuss about some unique and useful items for your iphone,
UNBREAKcable Shatterproof Tempered Glass Screen Protector for iPhone 12/12 Pro
Ailun Glass Screen Protector Compatible for iPhone 11/XR,6.1 Inch
Power Theory Privacy Screen Protector for iPhone 14, iPhone 13, iPhone 13 Pro
MOZOTER Magnetic for iPhone 14 Case & iPhone 13 Case
ZAGG InvisibleShield Glass+ Screen Protector for Apple iPhone 13/ 13 Pro
JETech Screen Protector for iPhone SE 3/2 (2022/2020 Edition)
Power Theory Designed for iPhone Xs Max Screen Protector
ZAGG InvisibleShield Glass+ Screen Protector for Apple iPhone 12 & 12 Pro
Ailun for Apple iPhone 11 Pro/ Xs/ X Screen Protector
TOZO Compatible for iPhone 12 and Compatible for iPhone 12 Pro
JETech Screen Protector for iPhone 11 Pro, iPhone Xs and iPhone X
Ailun 3 Pack Screen Protector for iPhone 14 Pro
Ailun 2Pack Privacy Screen Protector for iPhone 13
Mr.Shield [3-PACK] Designed For iPhone 11 Pro, iPhone X/iPhone XS